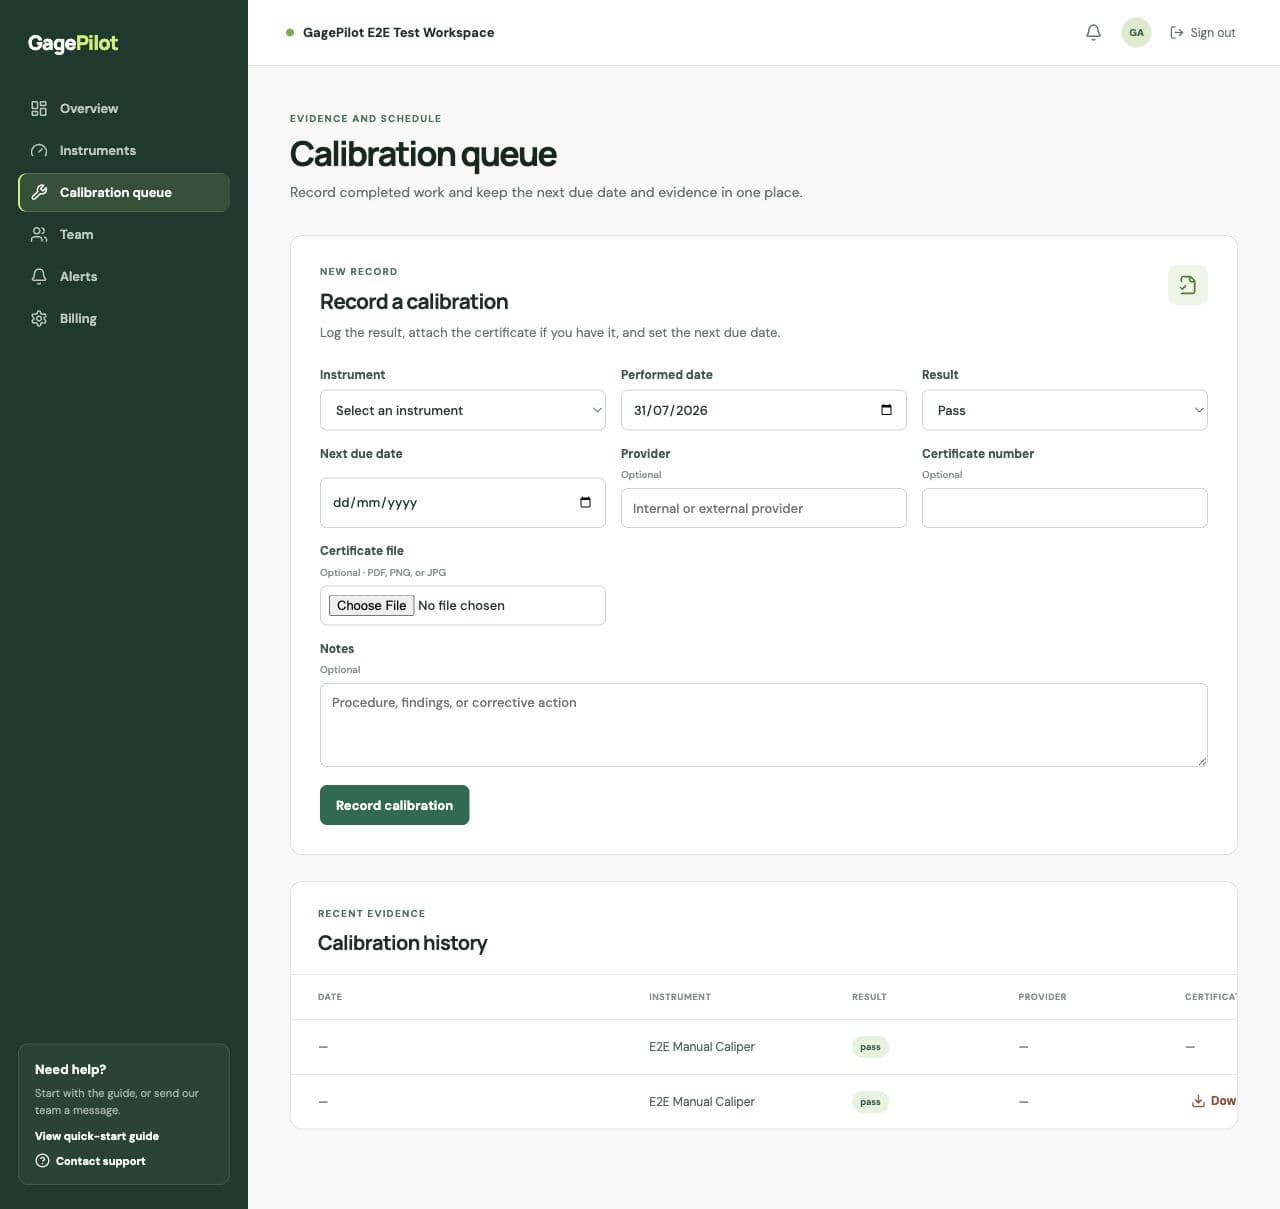
What to attach
- PDF calibration certificates
- PNG or JPG certificate images
- The provider’s certificate number
- Notes that explain findings or corrective action when needed
Check the certificate before filing it
Use this receiving checklist to organize your review. It is a starting point for your team's procedure, not a substitute for the technical acceptance criteria that apply to the measurement.
| Check | Question to answer |
|---|---|
| Instrument identity | Do the serial number and description match the instrument? If the provider uses a different ID, can you connect it to your asset ID? |
| Event and document identity | Are the performed date, provider, certificate number, and any revision identifiable? |
| Measurement scope | Does the calibration cover the ranges and functions your team uses? Refer technical questions to the person responsible for the measurement process. |
| Results and findings | Are there failures, adjustments, restrictions, or other findings that need a decision before the instrument returns to use? |
| Supporting evidence | Can the reviewer find the measurement results, uncertainty information, and traceability evidence needed for the intended use? |
| Record connection | Is the complete, readable file attached to the correct calibration event rather than a similarly named instrument? |
Document traceability and metrological traceability
Finding the right PDF establishes a record connection. Metrological traceability concerns the measurement result: NIST describes a documented calibration chain to a reference, with uncertainty contributions along that chain. NIST also explains that traceability by itself does not establish fitness for a particular measurement task.
Keep the supporting evidence available for a qualified review. Uploading a certificate to GagePilot organizes the record; it does not independently validate the provider's traceability claim.
Read NIST's policy on metrological traceability →A reliable certificate workflow
- Confirm the instrumentSelect the exact asset ID before uploading evidence.
- Record the calibration eventEnter the performed date, result, provider, and next due date.
- Attach the certificateUpload the file in the same record so it does not become orphaned in a shared folder.
- Check the historyReview the instrument record and confirm the event and certificate are visible together.
Why filenames still matter
Even when the file is connected to an instrument, use a consistent filename such as `asset-id_provider_date.pdf`. It makes exports, downloads, and offline review easier for the people who maintain the quality records.
Worked example: match a certificate to an event
Suppose your register identifies a micrometer as MIC-002, serial M2048. The provider's certificate lists M2048 but not your internal asset ID. Confirm the description and serial number against the physical instrument, record the provider's certificate number, and attach the file to MIC-002's calibration event using the performed date.
If the certificate instead lists M2049, investigate the mismatch with the provider before treating it as evidence for MIC-002. Renaming the PDF does not resolve an identity mismatch. Record who owns the follow-up and keep the instrument's status consistent with your approved procedure.
When a certificate is missing or corrected
- For a missing file, record the provider, event date, certificate reference if known, and who will obtain it. Follow up until the evidence can be retrieved.
- For an unreadable or incomplete file, request the complete document and verify that the replacement still matches the instrument and event.
- For a revised certificate, preserve the revision relationship and the reason for the correction under your document-control procedure. Do not silently edit the provider's original document.
- Keep the resolution reference in the event notes. Use your controlled document system for revision approvals and retention decisions.
Certificates are part of your system, not the whole system
A certificate does not by itself prove that every controlled instrument was managed correctly. Your procedures, interval decisions, status controls, and response to failed results still matter.