Required fields
| Field | Why it matters |
|---|---|
| Asset / gage ID | A unique identifier used to find the instrument and prevent duplicates. |
| Description | A human-readable name for the instrument or equipment. |
| Next due date | The date used to calculate current, due-soon, or overdue status. |
Useful additional fields
- Serial number
- Manufacturer and model
- Category
- Location
- Owner or assignee
- Calibration provider
- Calibration interval
- Notes
Start with a small import example
Copy these headers and example rows into a blank worksheet to see the structure. Replace the examples with your own instruments and approved due dates before importing your working register. Keep IDs formatted as text if they contain leading zeros.
| Asset ID | Description | Next due date | Owner |
|---|---|---|---|
| CAL-001 | Digital caliper | 2026-12-12 | Quality |
| MIC-002 | Outside micrometer | 2026-09-26 | Inspection |
Prepare the file before uploading
- Use one header row and one instrument per rowIn CSV, put the headers on the first line. Keep the instrument rows together: a completely blank row ends the register, so remove blank separators between instruments.
- Make dates unambiguousUse YYYY-MM-DD, for example 2026-12-12. A CSV date such as 03/04/2026 is ambiguous. Excel day-first dates may be interpreted as DD/MM/YYYY; review the displayed date warning and confirm the result.
- Keep a single register in the import copyFor XLSX files, GagePilot looks for a worksheet with recognized register headers. Review the selected sheet name. Removing instruction and example sheets from an import copy avoids selecting the wrong register.
- Check column namesUse Asset ID, Description, and Next due date for the simplest import. Do not include two columns for the same field, such as both Asset ID and Gage ID.
Import steps
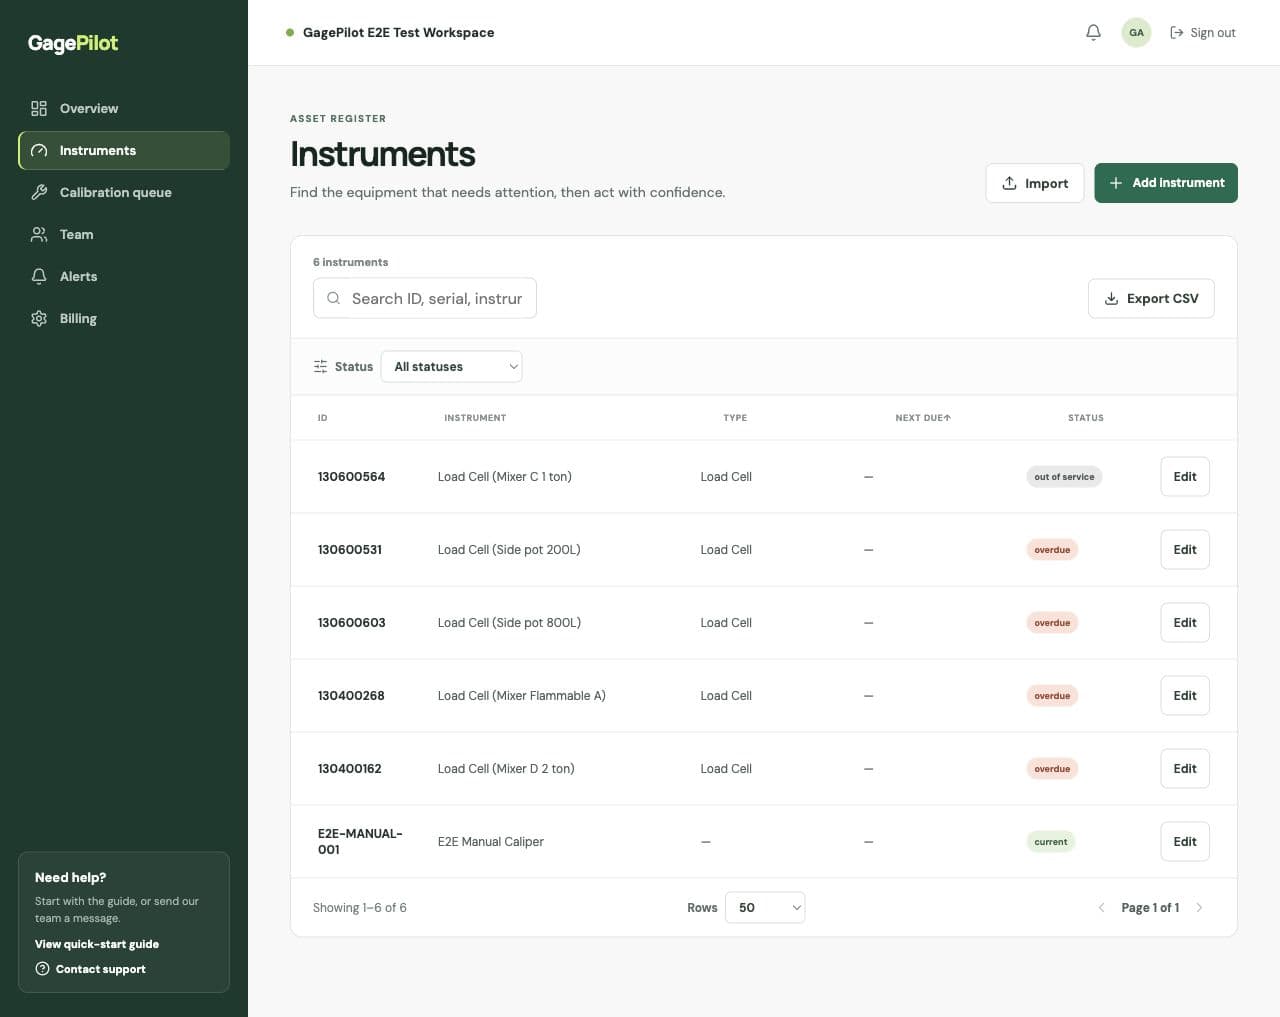
- Open InstrumentsChoose Import and select a CSV or XLSX file from your computer.
- Review the recognized fieldsUse clear headers and keep one instrument per row. The importer recognizes common aliases such as asset ID, gage ID, equipment ID, and instrument ID.
- Resolve errors before submittingRows with missing required values or invalid dates should be corrected in the source file and imported again.
- Review the registerAfter import, filter by status and check a few records against the source spreadsheet before sharing the workspace with the wider team.
Avoid duplicate records
GagePilot compares asset IDs case-insensitively and can skip existing IDs during import. Keep the asset ID stable when an instrument moves, changes owner, or returns from calibration.
Troubleshoot common import problems
| What you see | What to check |
|---|---|
| Missing description or next due date | Check both the value and the header. In the free workbook, rename Instrument / Gage to Description and Next Due to Next due date in your import copy. |
| Invalid or ambiguous date | Use a real calendar date in YYYY-MM-DD format. Check last-calibrated dates as well as next-due dates; avoid text such as pending or TBC in date columns. |
| Fewer instruments than expected | Look for a completely blank row inside the list and confirm which Excel worksheet was selected. Compare the preview count with the populated rows in the source. |
| Duplicate column header | Keep one column per field. Asset ID and Gage ID map to the same field, even though the headings look different. |
| Missing owner warning | An owner can be assigned after import. Confirm who will act on due work before relying on reminders. |
Verify the migration before retiring the spreadsheet
Compare the imported count and a few representative records with the source file. Include an overdue instrument, a future due date, and an instrument with a leading-zero ID if your register uses one. Check description, owner, location, and next due date—not only that the upload succeeded.
- Keep the original spreadsheet while you resolve any discrepancies.
- A register import does not attach certificate files or recreate every historical calibration event. Review the calibration history separately and attach evidence to the relevant records.
- Confirm the selected recipients and lead times before relying on email reminders.